Notice
Recent Posts
Recent Comments
Link
| 일 | 월 | 화 | 수 | 목 | 금 | 토 |
|---|---|---|---|---|---|---|
| 1 | ||||||
| 2 | 3 | 4 | 5 | 6 | 7 | 8 |
| 9 | 10 | 11 | 12 | 13 | 14 | 15 |
| 16 | 17 | 18 | 19 | 20 | 21 | 22 |
| 23 | 24 | 25 | 26 | 27 | 28 | 29 |
| 30 |
Tags
- 백준12015
- 개발자 면접
- 2482
- 정상회담2
- LIS
- Python
- DP
- 2228
- 1670
- 카카오 서류전형
- 가장긴증가하는 부분수열
- 파이썬
- 단어수학
- 기술면접
- 백준12738
- Longest Increasing Subsequence
- 구간나누기
- 카카오 면접
- 카카오 인턴
- 카카오 인턴십
- LIS 알고리즘
- 알고리즘
- 백준
- 카카오
- 여름인턴십
- 카카오 자기소개서
- 백준11053
- 2629
- 최장증가수열
- 인턴십 면접
Archives
- Today
- Total
프로그래밍에 대한 고찰 및 생각
[1] Github - Git Flow 전략 시작 본문
새로운 레포지토리를 clone 하는 것 부터 add, commit, push 그리고 branch 생성 및 변경, 마지막으로 PR(Pull Request) 하는 과정까지 간략하게 살펴보자.
시작
0. 레포지토리 clone
git clone <repository>
1. master branch 에서 testfile 생성 ( 내용 : test )
git add . && git commit -m "update" && git push origin master
2. master branch 에서 testfile 내용 변경 (test -> test2)
git add . && git commit -m "update" && git push origin master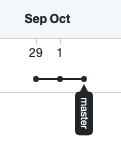
3. develop branch 생성
# develop 이라는 브랜치 생성 후 해당 브랜치로 변경
git checkout -b develop
git push origin develop
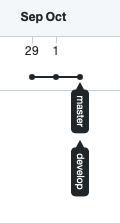
4. feature/1 branch 생성
# feature/1 이라는 브랜치 생성 후 해당 브랜치로 변경
git checkout -b feature/1
git push origin feature/1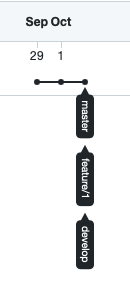
5. feature/2 branch 생성
# develop branch로 위치 변경
git checkout develop

# feature/2 라는 브랜치 생성 후 해당 브랜치로 변경
git checkout -b feature/2
git push origin feature/2
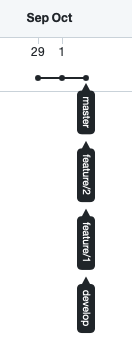
6. feature1 에서 파일내용 추가 (+feat1)
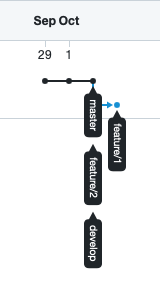
7. fix branch 생성
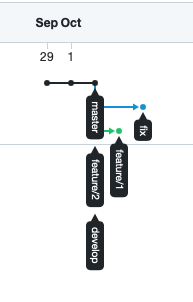
8. fix branch 및 버그 수정 ( +(bugfix)) -> master branch 로 merge ( Pull Request)
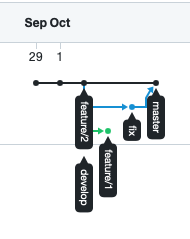
9. feature/1 branch 수정사항 develop branch 로 merge
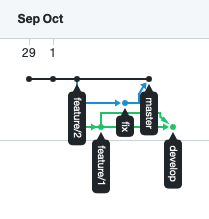
10. feature/2 branch 기능추가 및 develop 으로 merge (+feat2)
여기서 conflict 가 발생하므로 해당 부분을 적절히 수정해준다.(feat1, feat2 가 모두 포함되어야 할것이다)


11. develop branch -> master branch merge
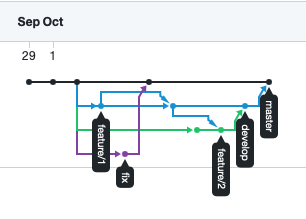
참고. git flow (https://ux.stories.pe.kr/183)
참고. git 사용법 (https://backlog.com/git-tutorial/kr/stepup/stepup1_1.html)
